

Installation Instructions
Where To Find Installation Packages
Before you can install the Kolide agent, you need to obtain the correct installation package for your platform.
Kolide Admins
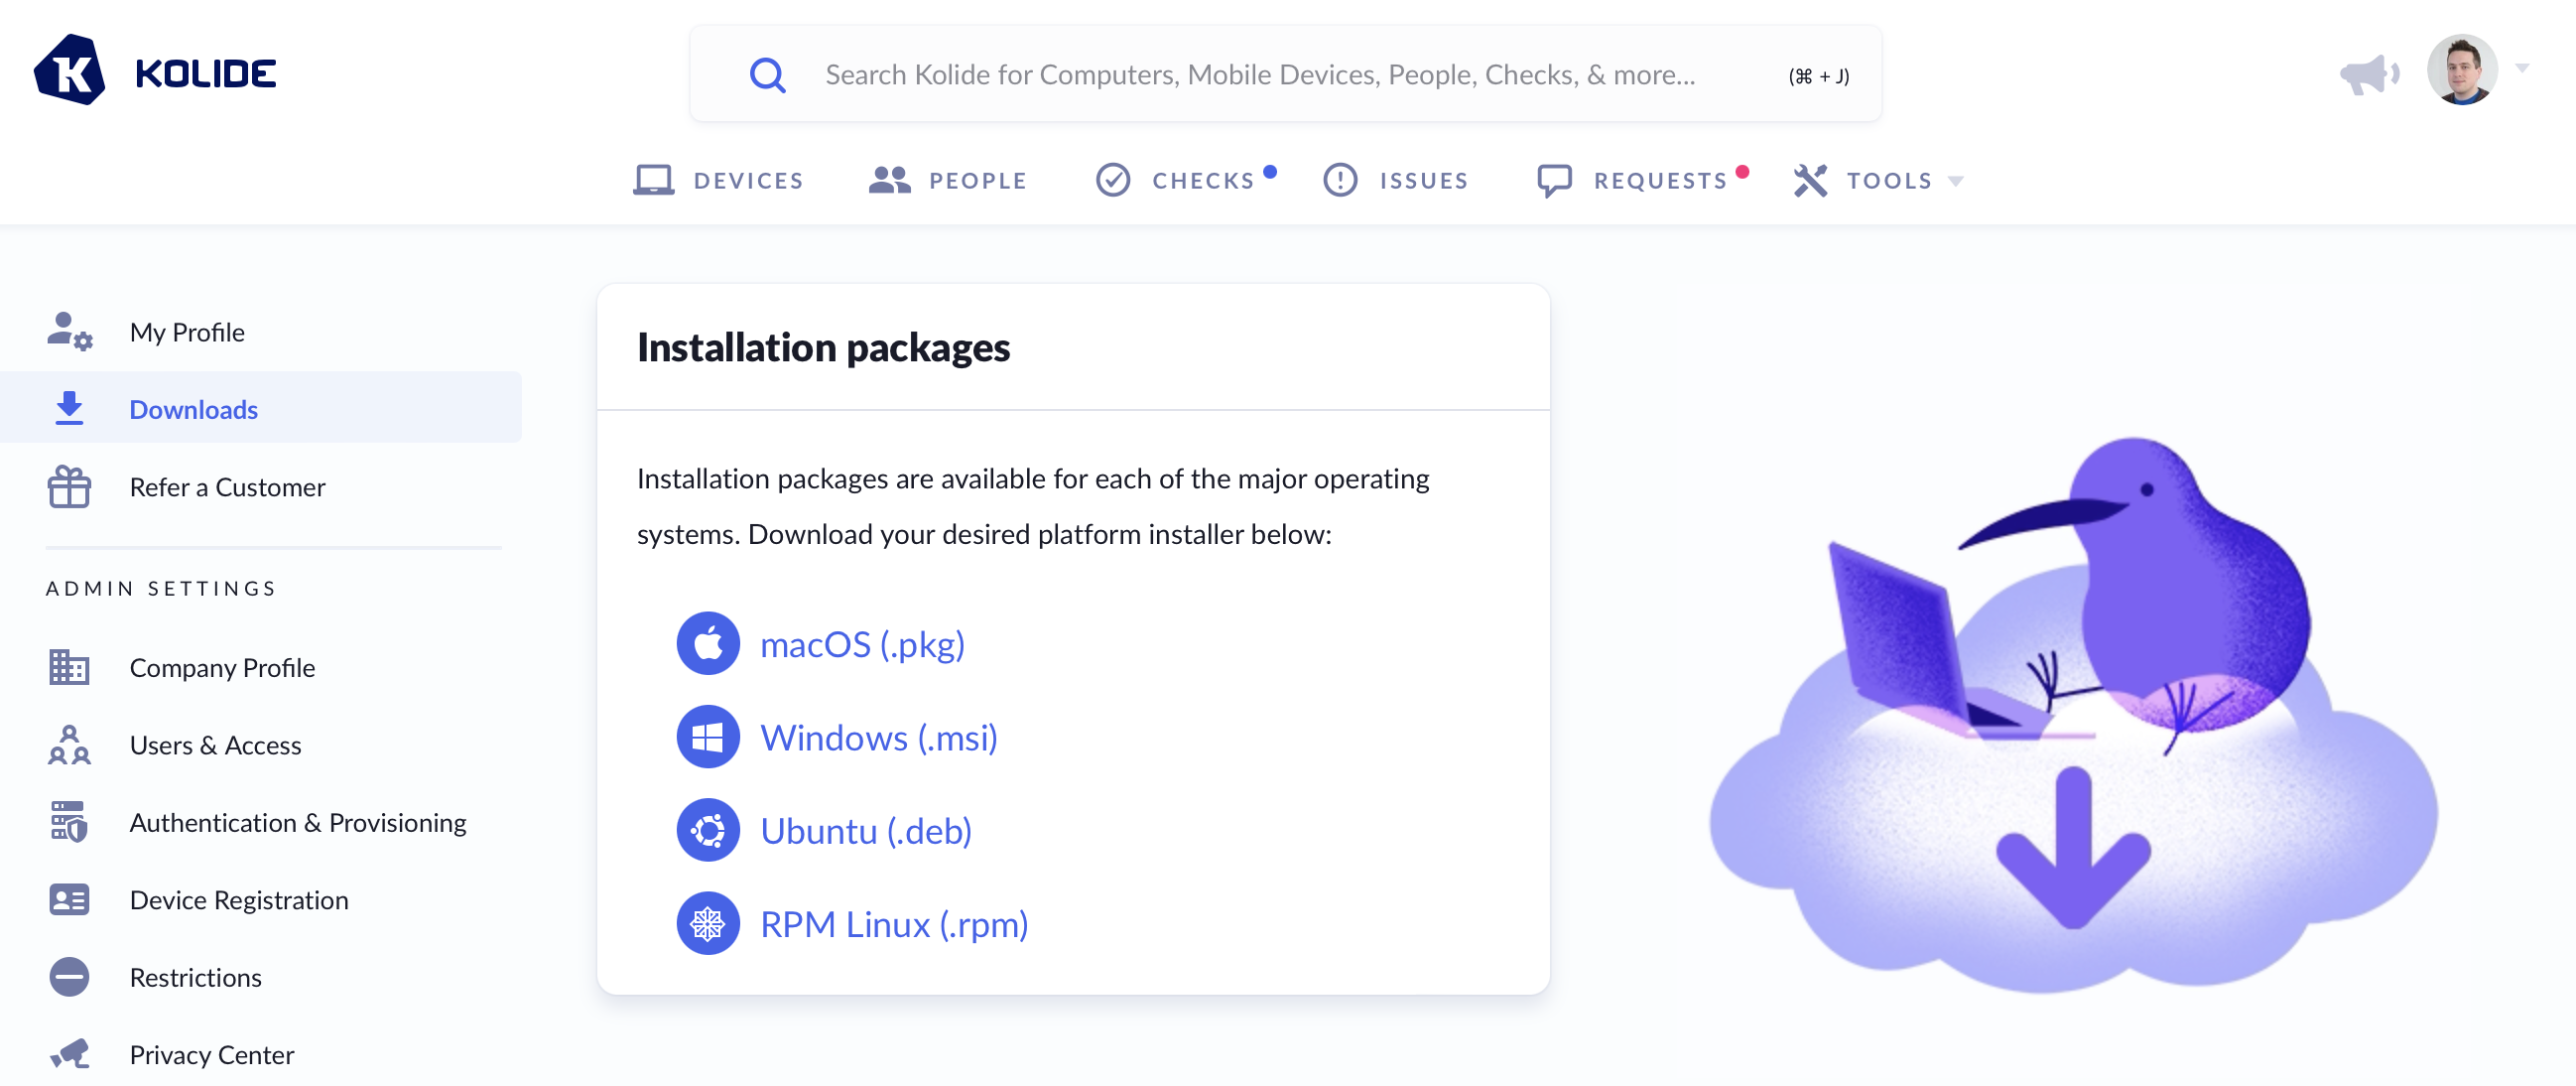
Users with access to Kolide’s admin UI can find their Kolide account’s installation packages in Settings / Downloads.
End-Users
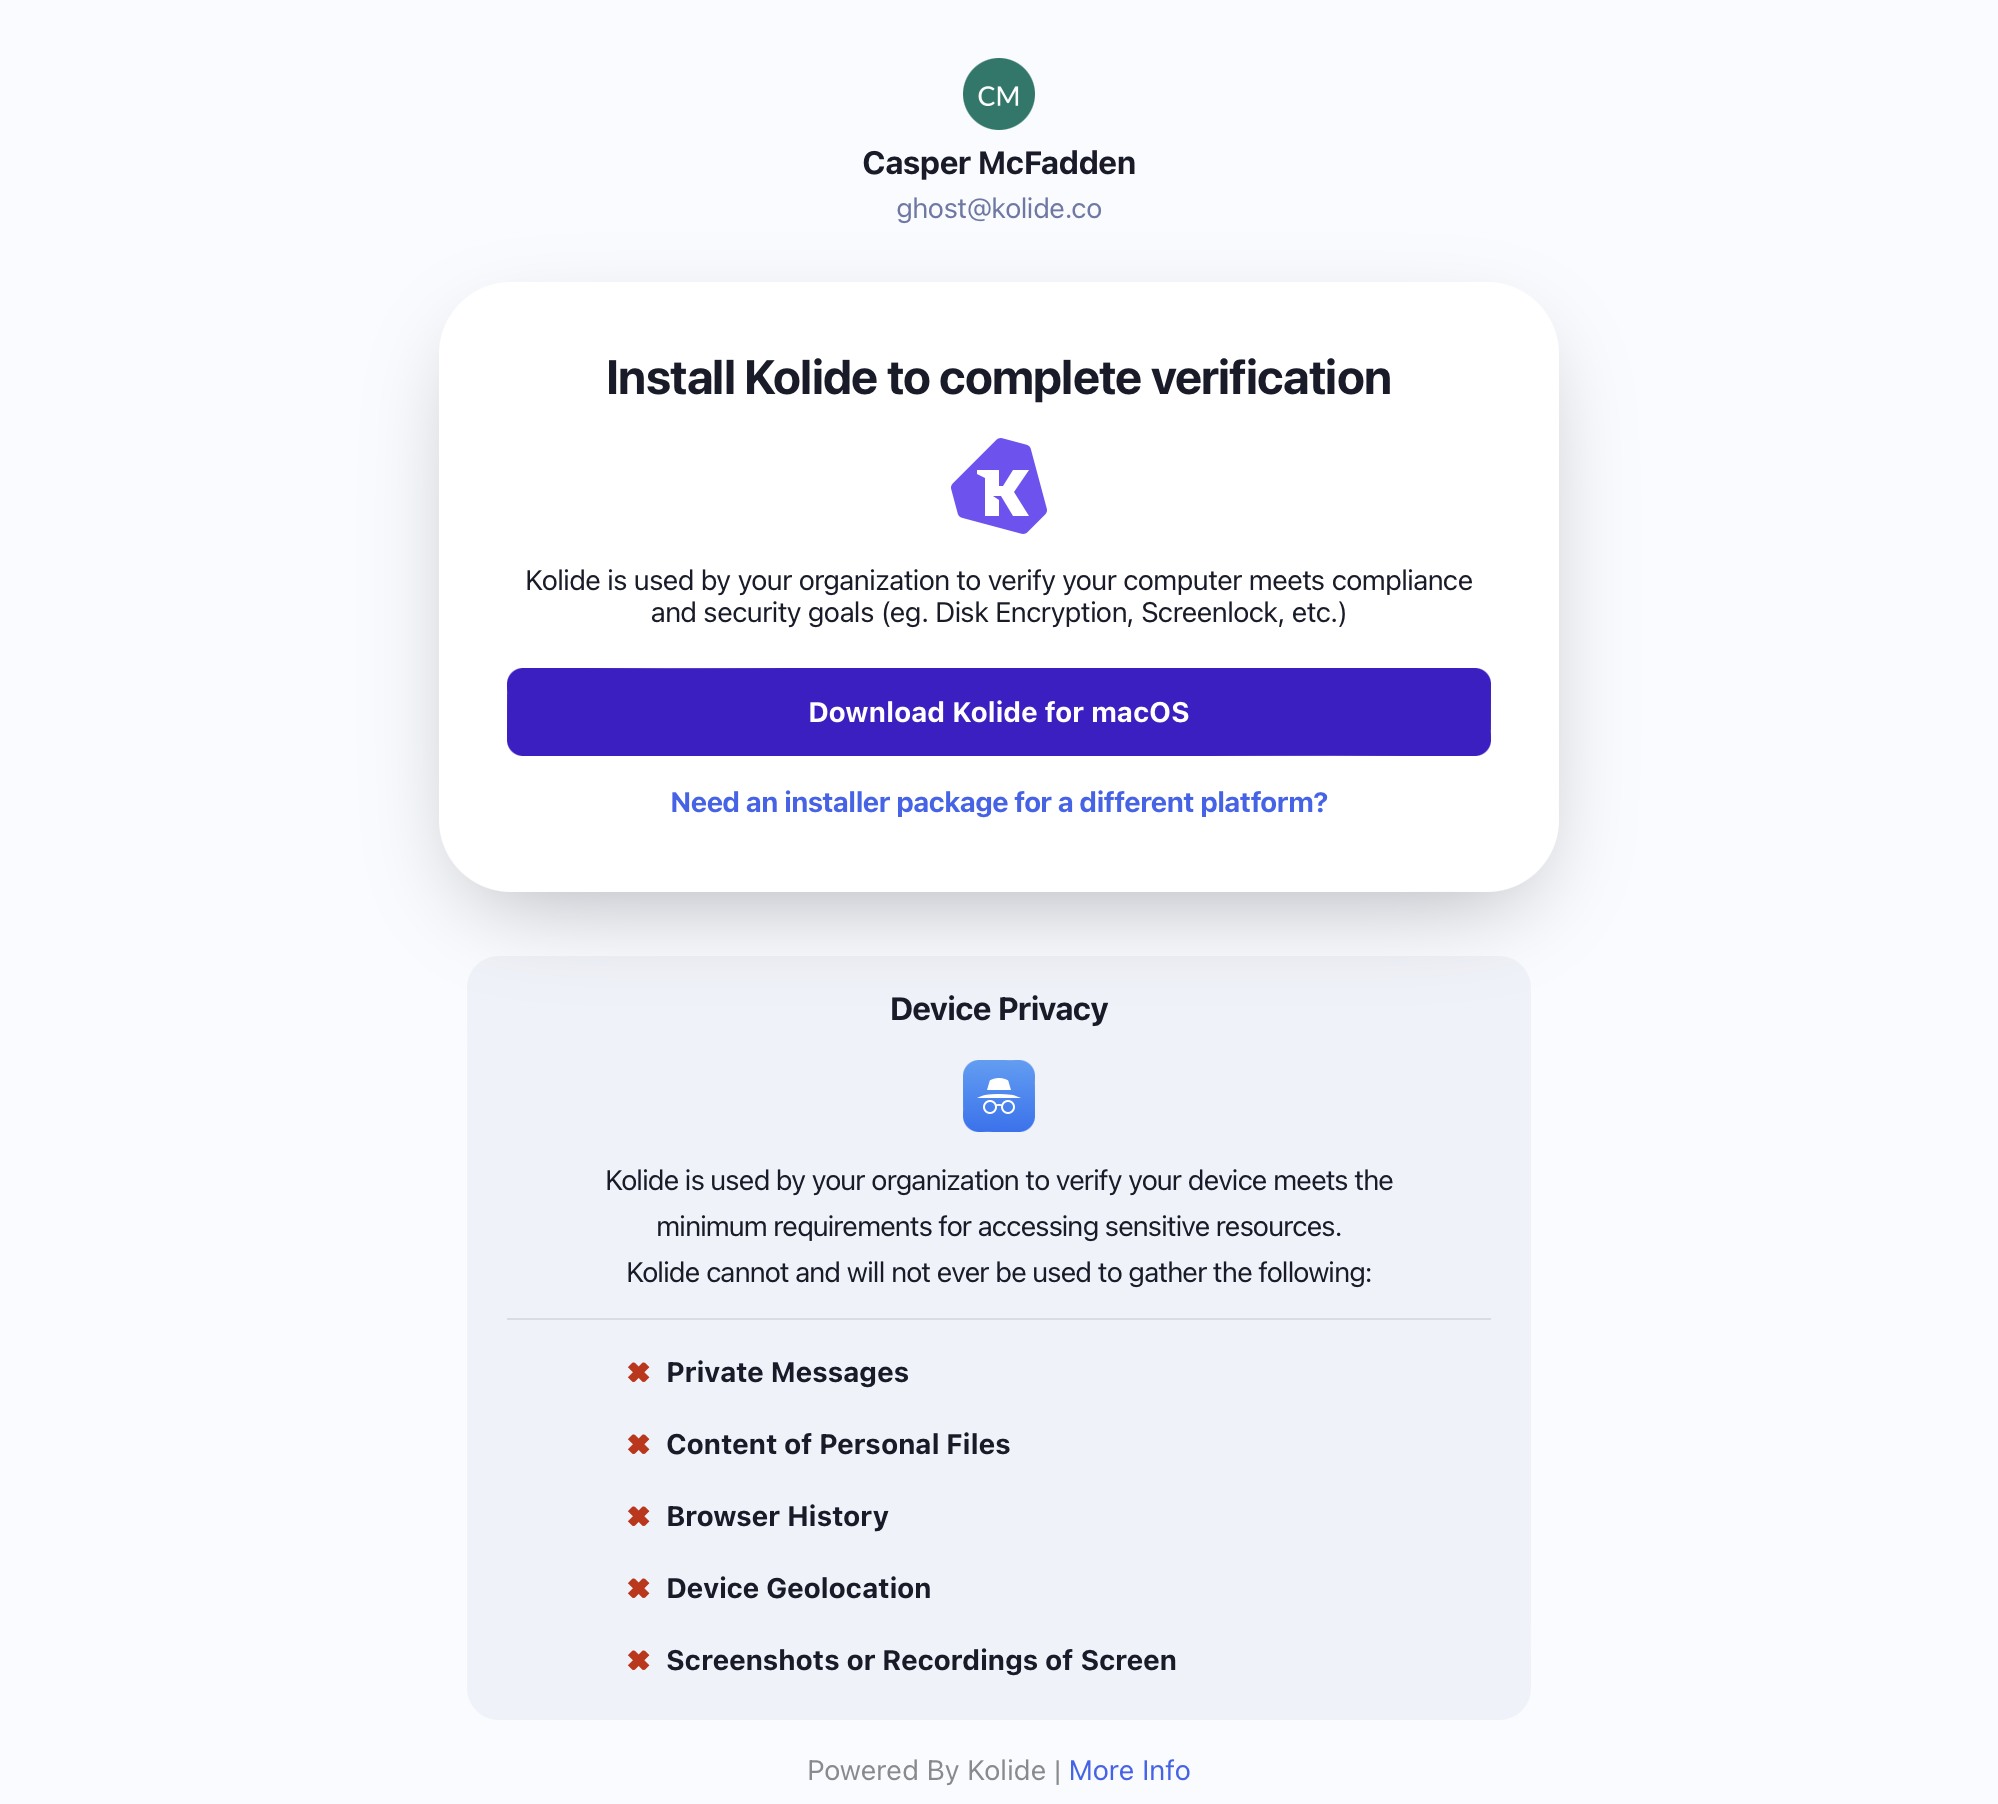
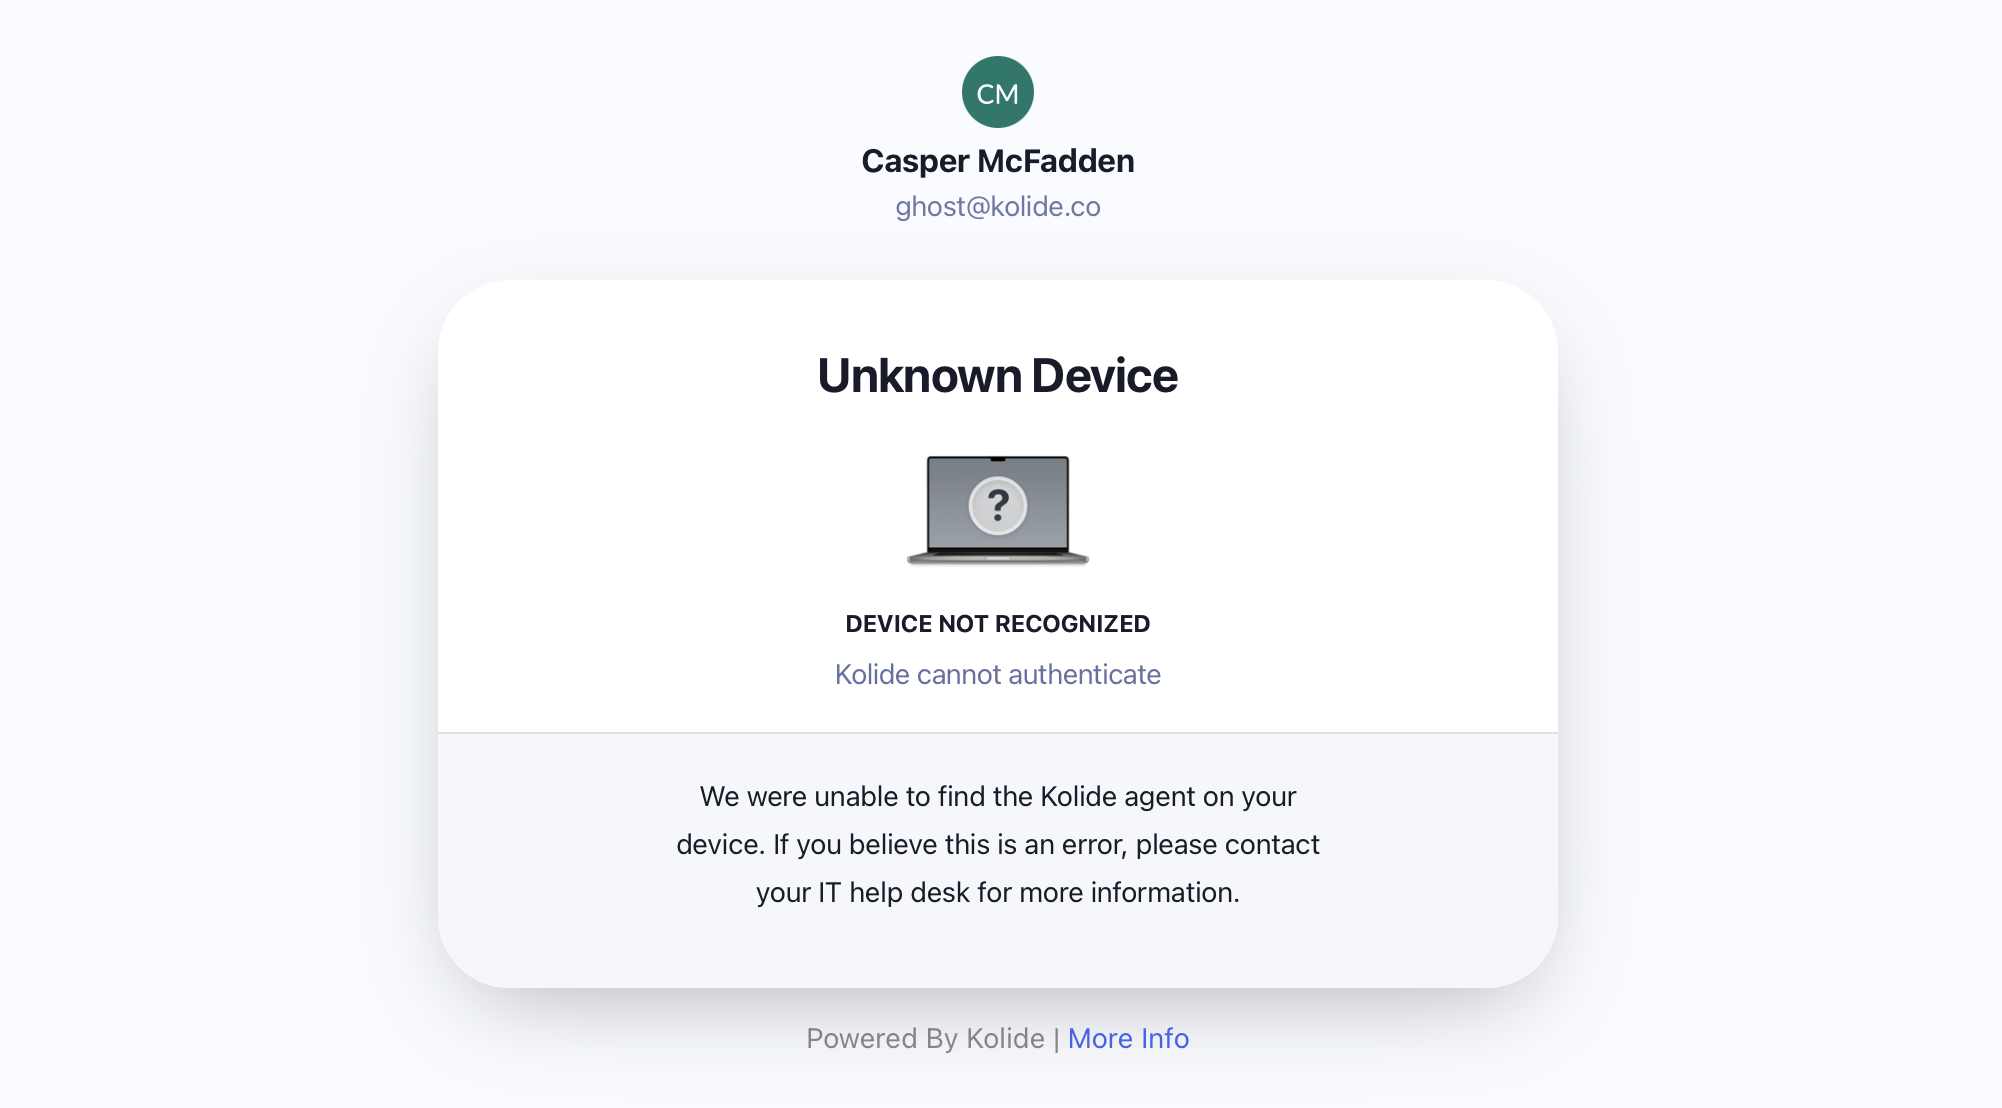
End-Users on a device that has never installed the Kolide agent can find the package by attempting to sign into any app that’s protected by Kolide device trust.
During authentication, Kolide will detect the absence of the Kolide agent and recommend the correct package for your system.
macOS
Initial Installation
First, obtain the macOS Kolide agent installer for your Kolide account.
Open the
kolide-launcher.pkgfile to begin the installation process.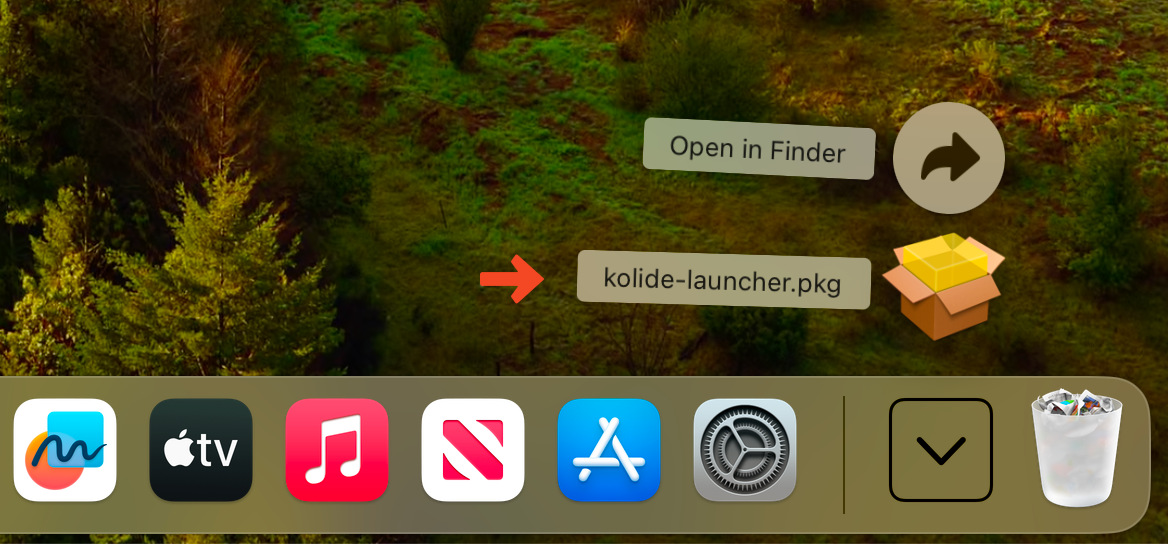
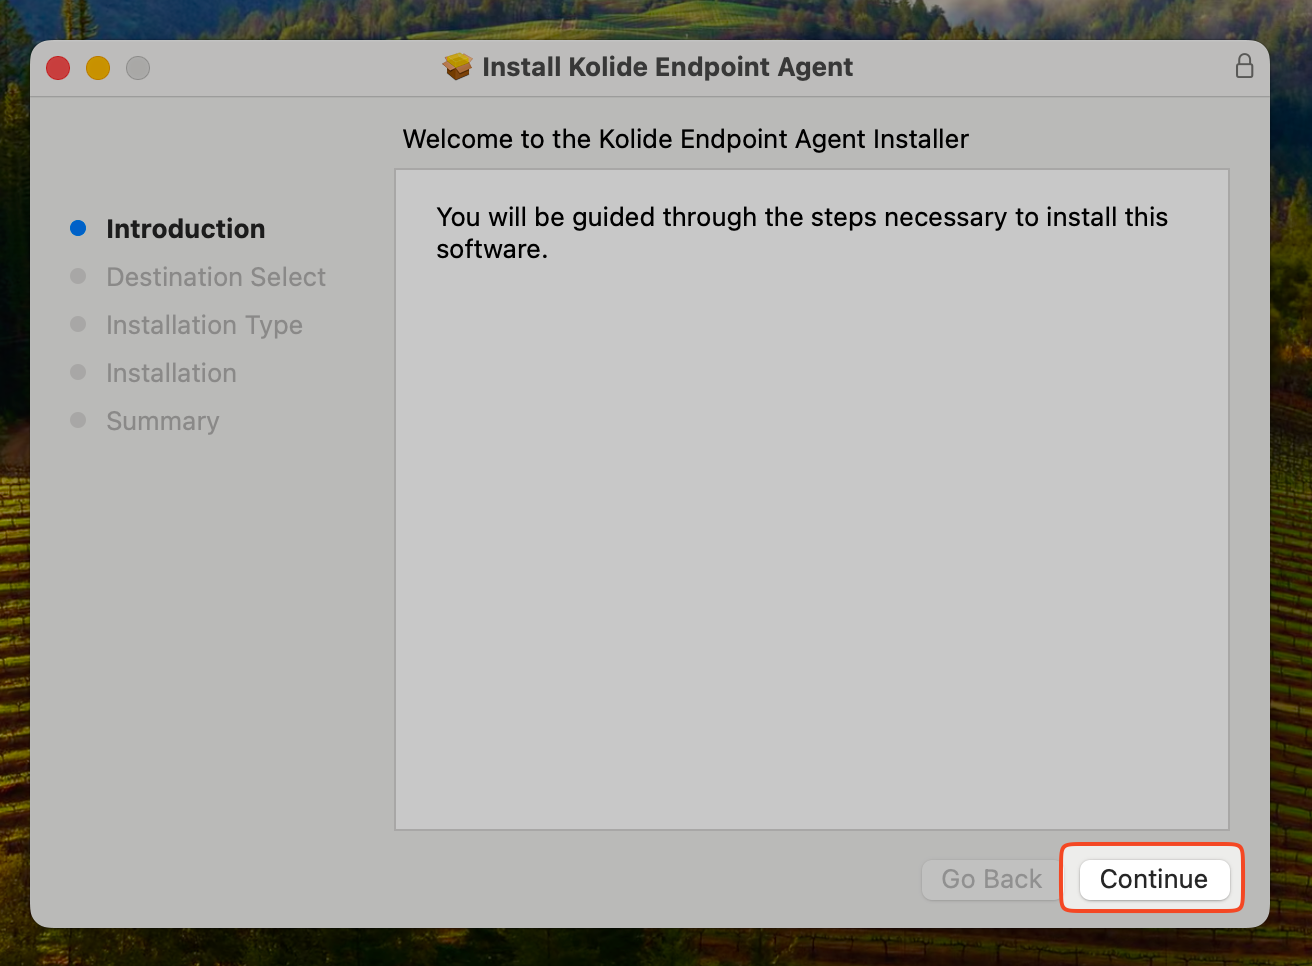
When the installation wizard opens, click Continue.
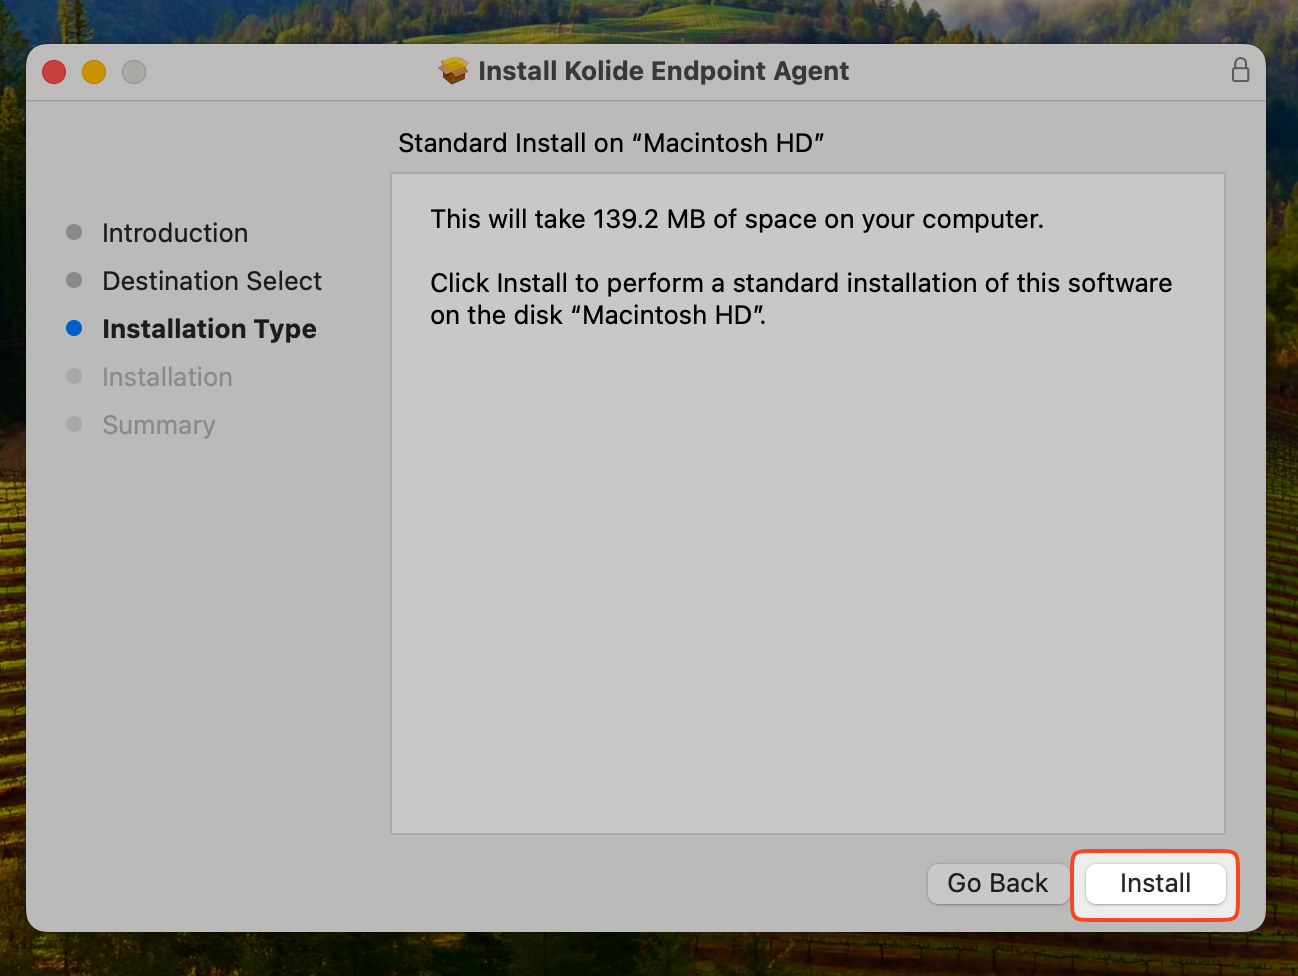
Click Install.
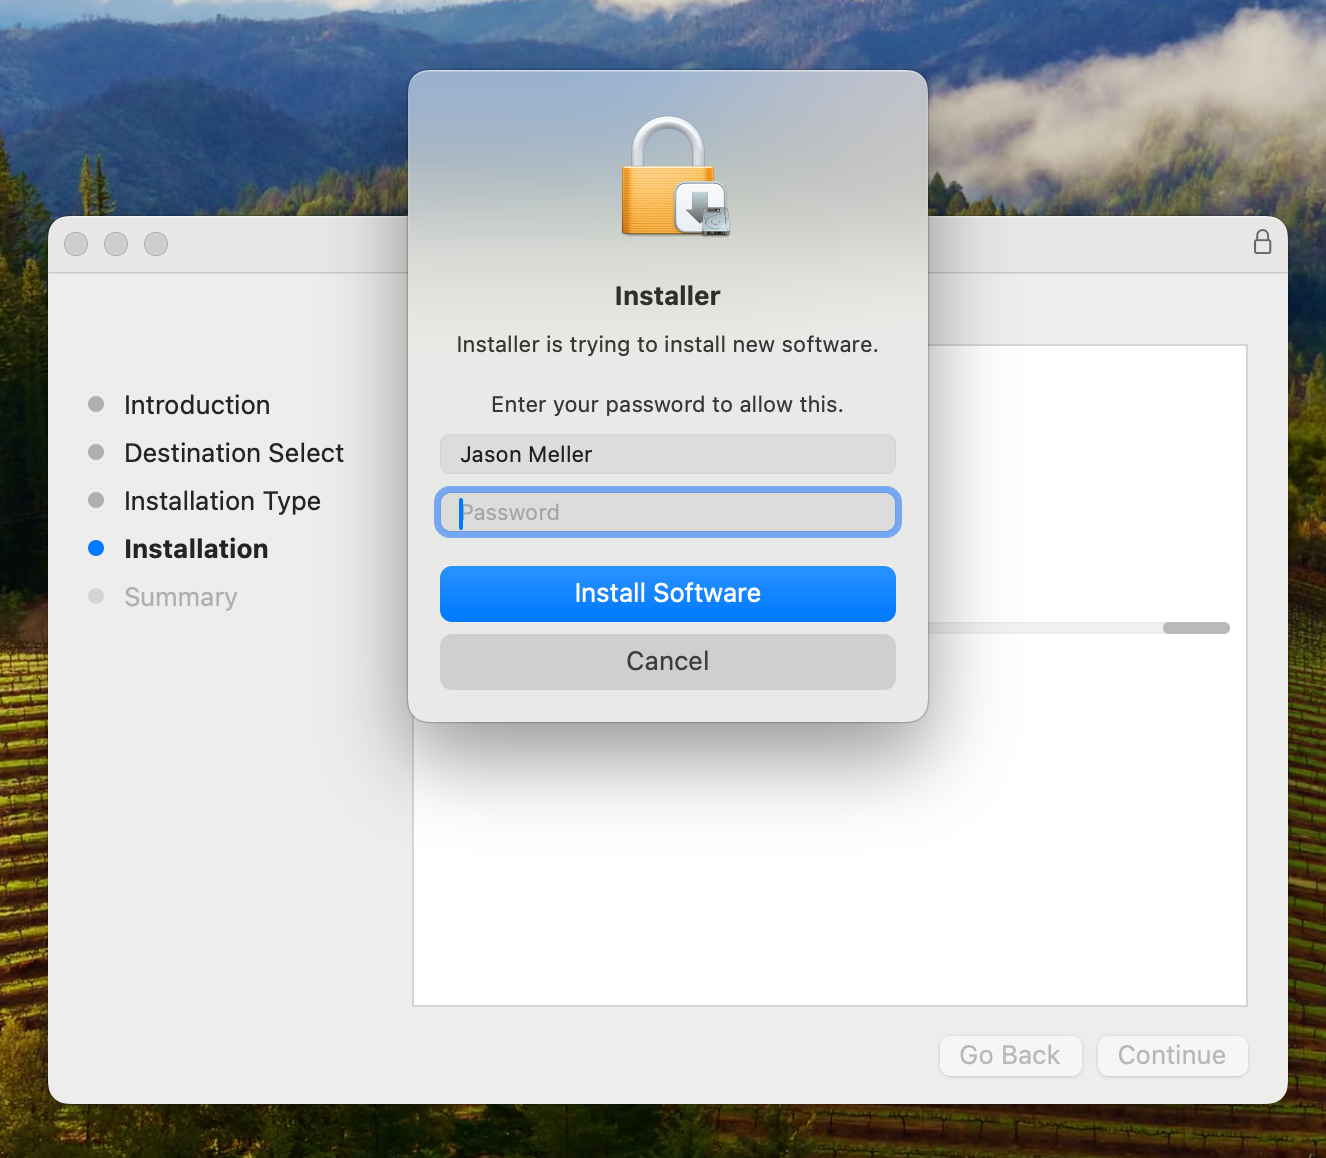
If you are prompted for Touch ID or administrative permissions, enter them and click Install Software.
Once the installation is complete, click Close.

Note: Unless it is explicitly hidden by your organization, the Kolide Menu Bar application will appear two to three minutes after the Kolide agent installation is completed.
Allowing Notifications
The Kolide agent is capable of displaying useful notifications when the status of your device changes, or when registration is successful. Shortly after the Menu Bar app activates, it will ask for the appropriate permissions to display banner-style notifications.

Shortly after the Kolide Menu Bar application appears, you will see a prompt like the one above. Click it and follow the instructions to enable notifications about your device’s status.
If you miss this notification, you can manually enable the permissions by following these instructions.
Click the Apple icon in the top left corner of your screen and then select System Settings from the pull-down menu.
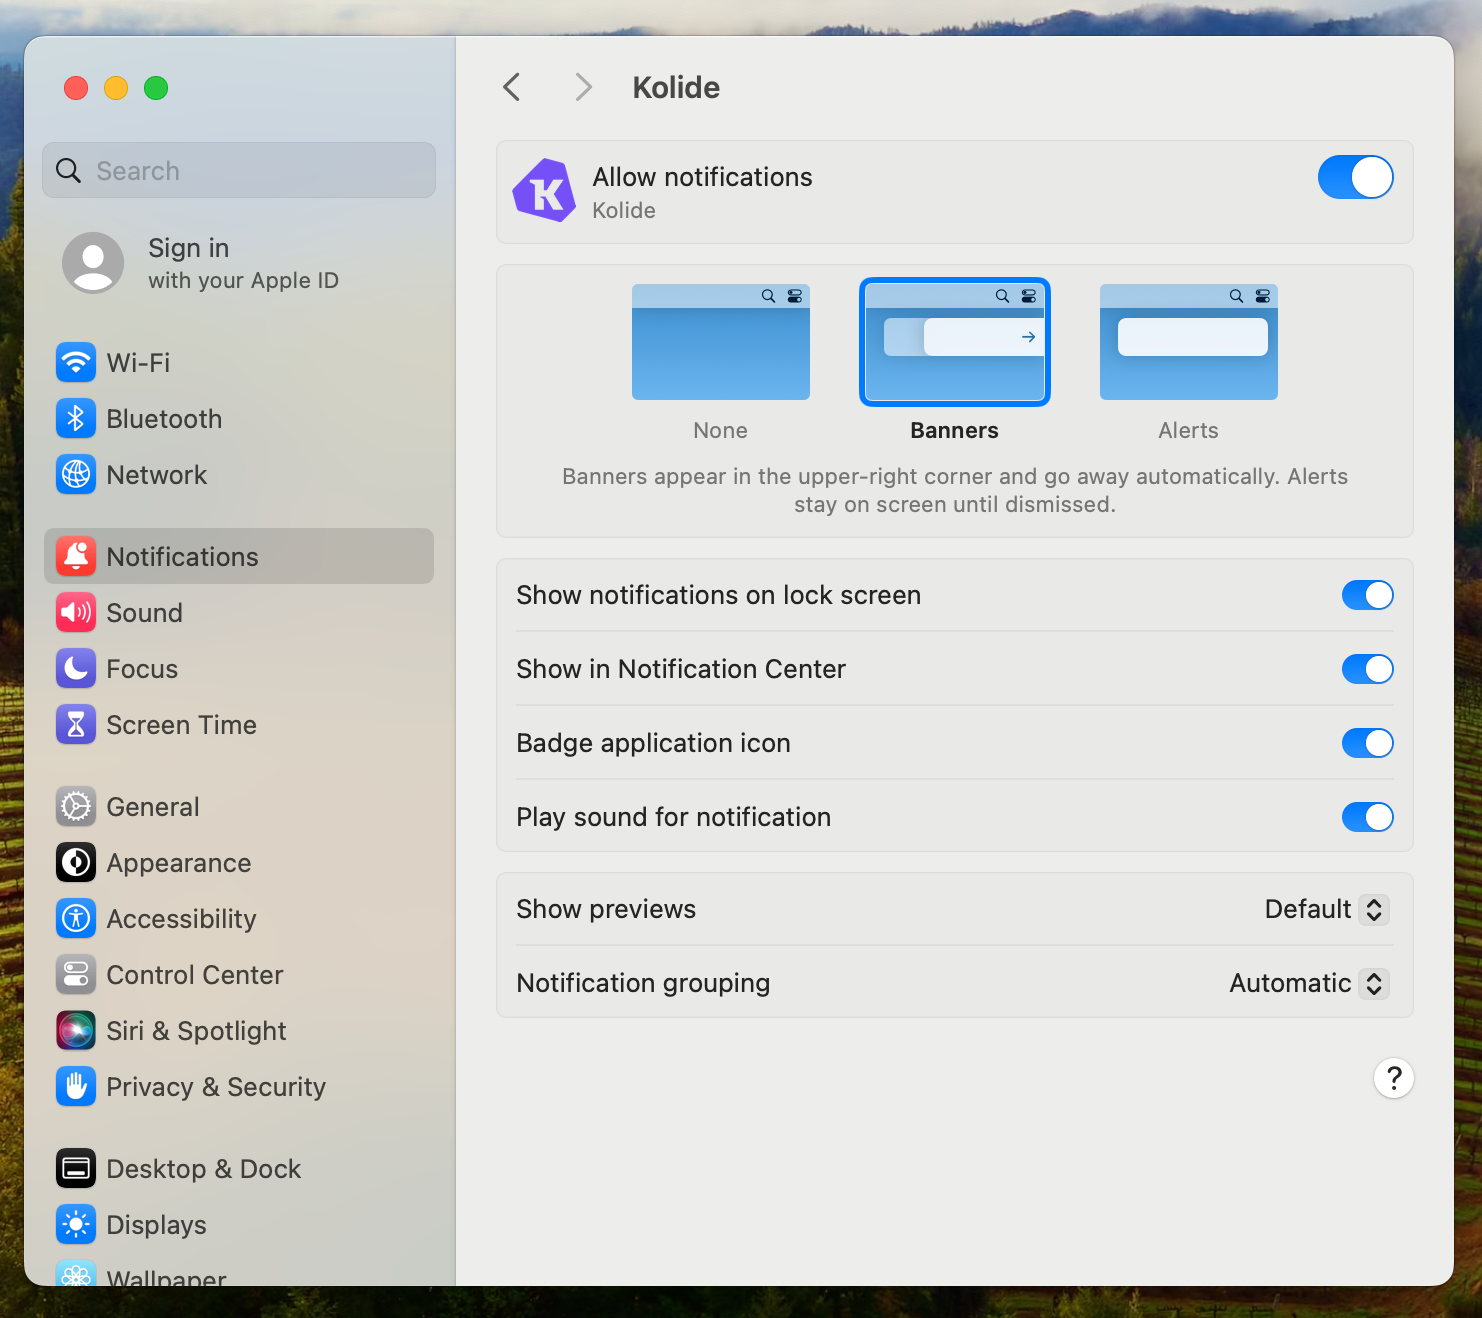
In the left menu pane of the System Settings window, select the menu item labeled Notifications.
In the right pane, look for the section called Application Notifications and click on the Kolide entry.
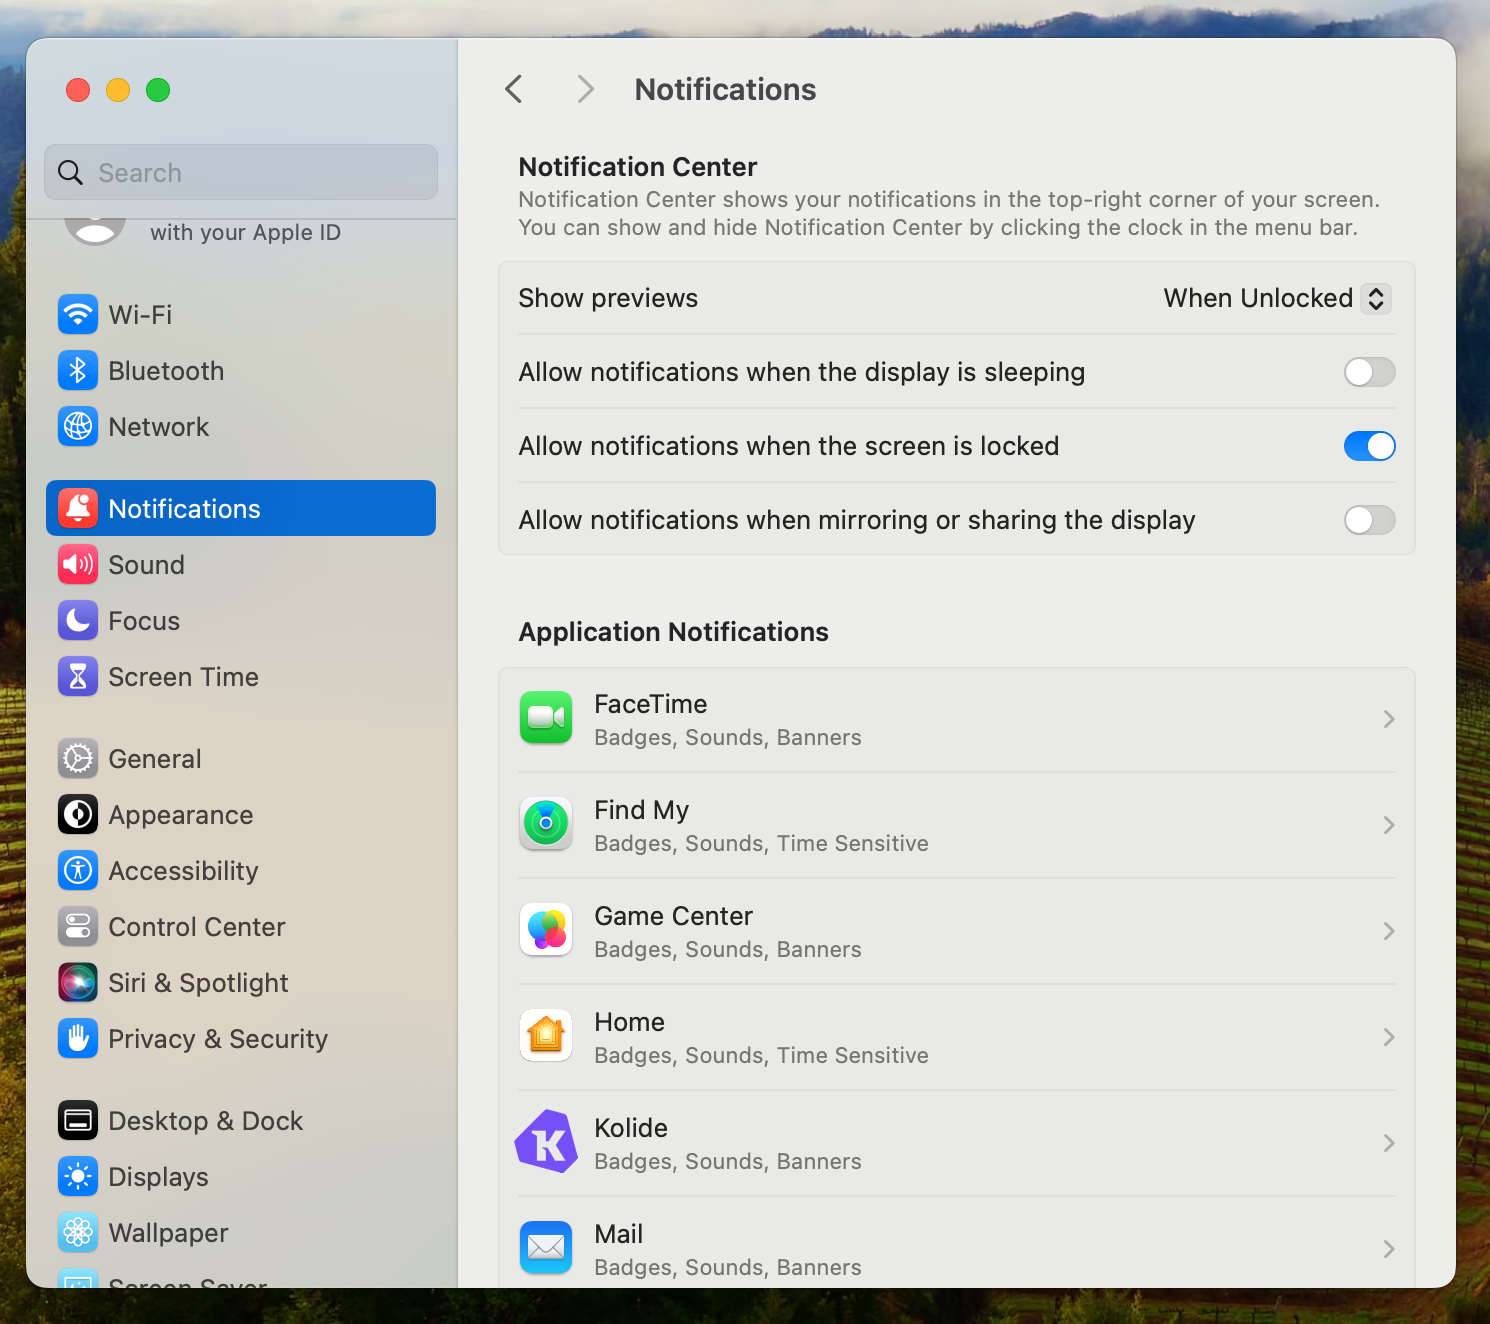
Enable the toggle switch next to Allow notifications and ensure all the other settings match the screenshot below.
Granting Full Disk Access
Macs utilize a granular permissions system to limit applications’ access to important system or user files.
While Kolide can function without this additional access, some of Kolide’s Checks that look for plain-text credentials in Downloads, Documents, and Desktop folders will not function. In addition, without these permissions, Kolide will be unable to determine if other apps have inappropriate permissions on the device.
To enable Full Disk Access, follow these instructions:
Click the Apple icon in the top left corner of your screen and then select System Settings from the pull-down menu.
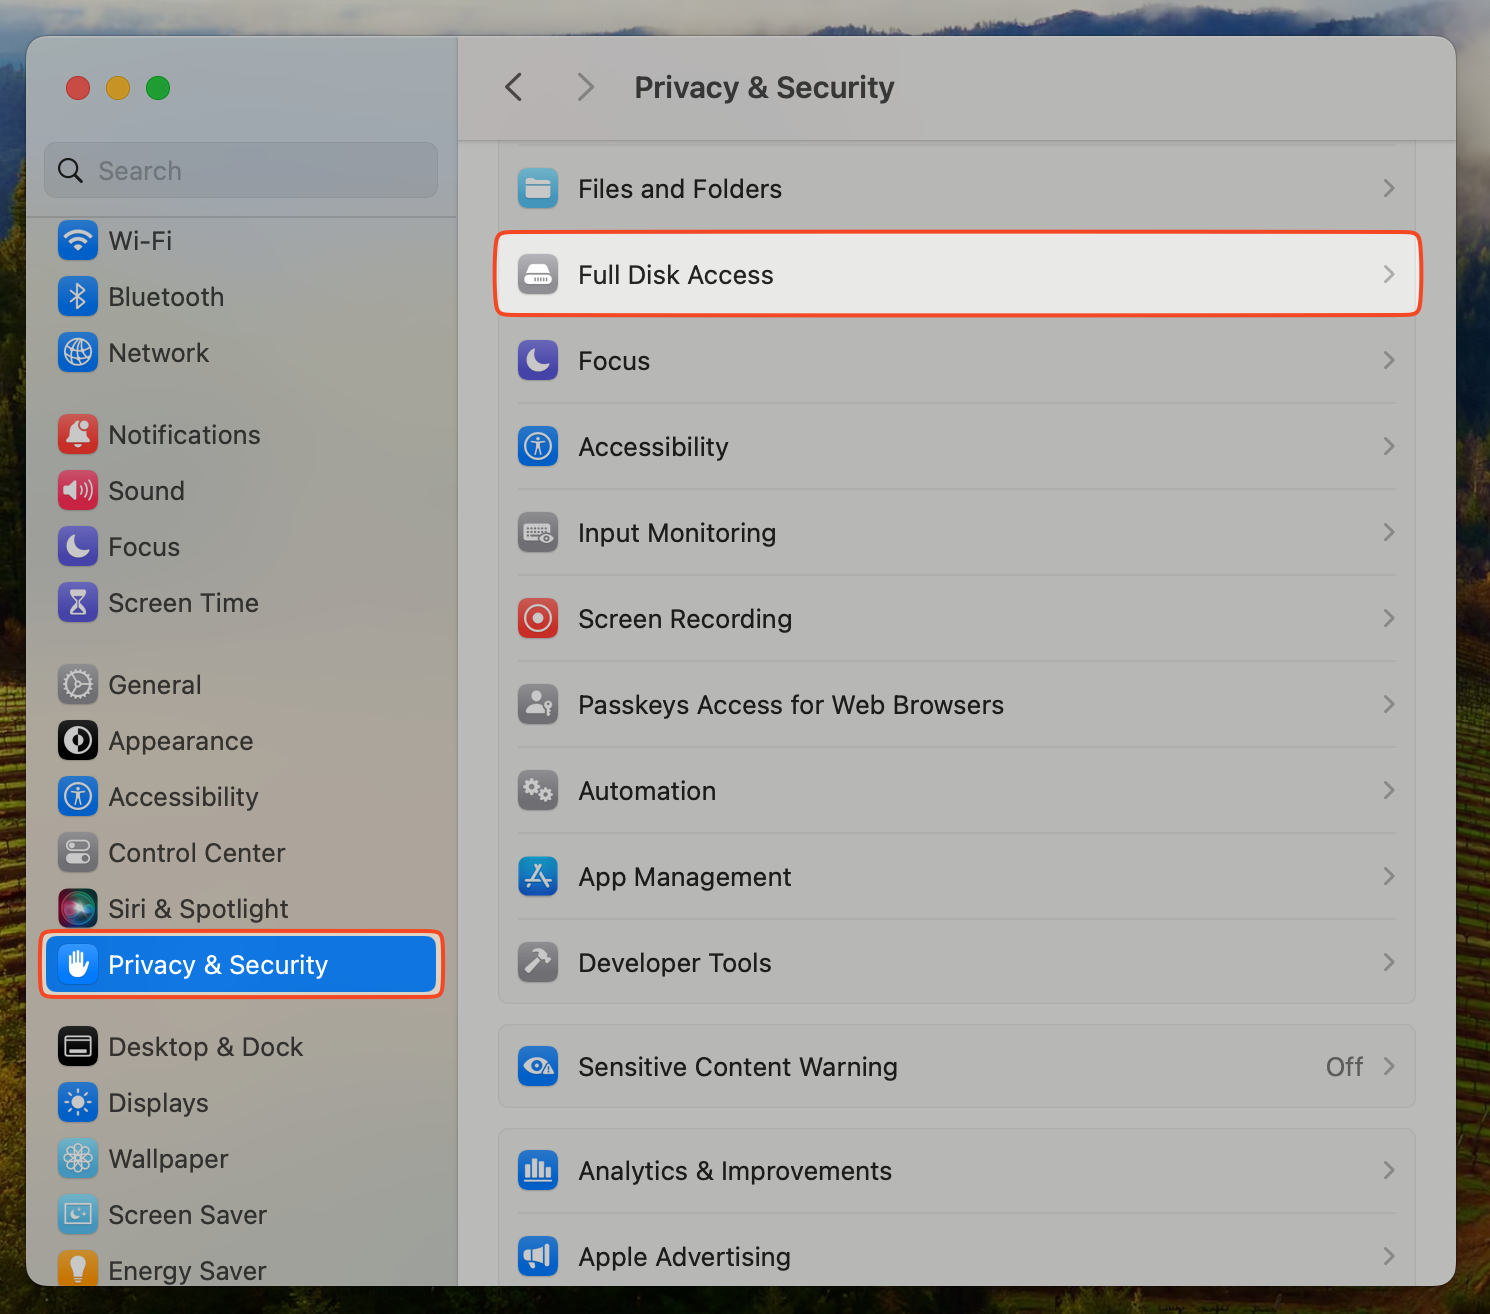
In the left menu pane of the System Settings window, select the menu item labeled Privacy & Security.
In the right pane, select Full Disk Access.
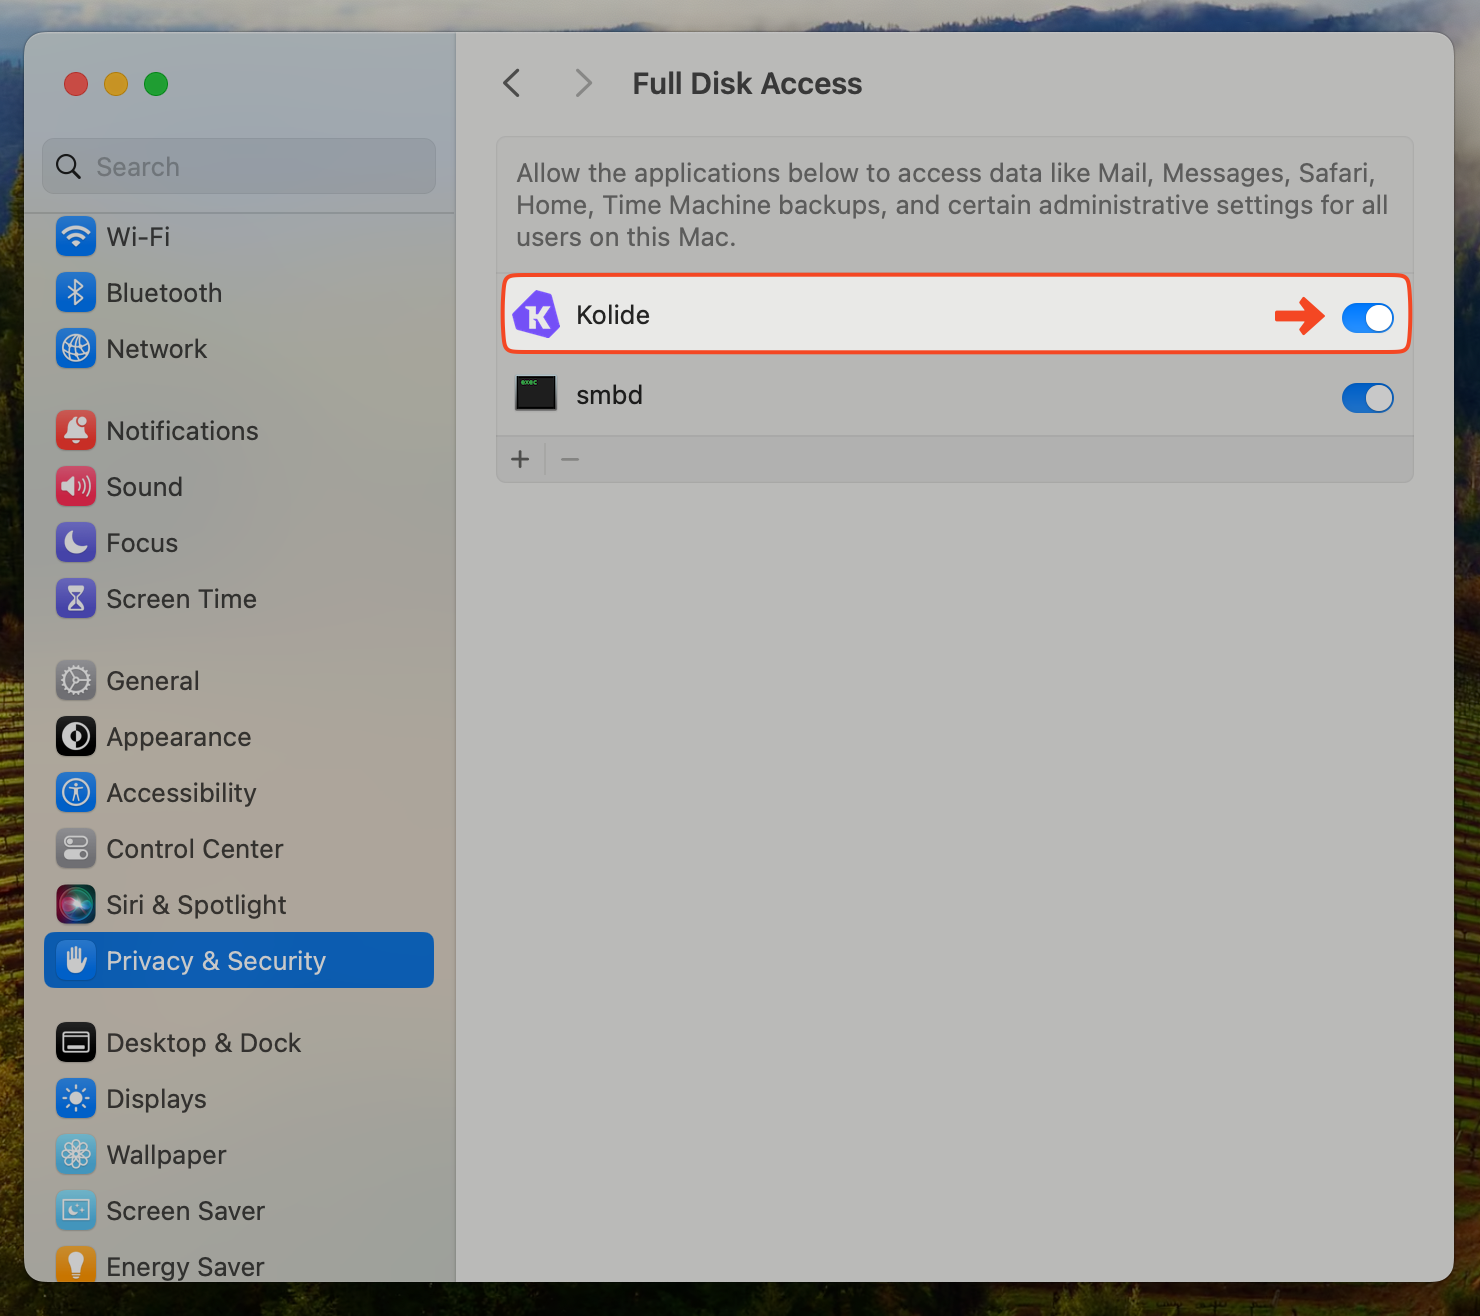
Find the line item for Kolide and click the toggle to enable full disk access. Once toggled, you may need to provide a password or a biometric confirmation to confirm the change.
Click the
+button to add a new permitted application. This will open a new Finder window.On your keyboard, press the
Command + Shift + Gkeys simultaneously to open the Go to Folder window.In the Go to Folder window, type
/usr/local/kolide-k2/Kolide.appand press Enter.This will show you the location of the Kolide agent (named “Kolide”). Click Open.
You should now find Kolide present on the application list. Since applications are added with full disk access automatically, you can now safely close the window.
Windows
First, obtain the Windows Kolide agent installer for your Kolide account.
-
Double-click the
kolide-launcher.msifile to begin the installation wizard.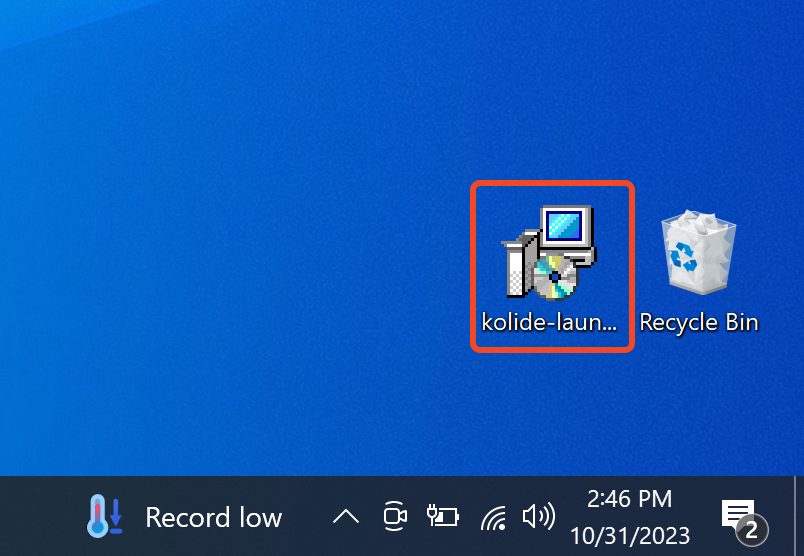
-
Follow the on-screen instructions to complete the installation.

If prompted, reboot the computer.
Note: Unless it is explicitly hidden by your organization, the Kolide Menu Bar application will appear two to three minutes after the Kolide agent installation is completed.
Ubuntu (.deb)
First, obtain the Ubuntu Kolide agent installer for your Kolide account.
If using a window manager like GNOME, simply double-click the
kolide-launcher.debfile and follow the on-screen instructions.Alternatively, you can install the package from a terminal with
sudo dpkg -i kolide-launcher.deb
Note: Unless it is explicitly hidden by your organization, the Kolide Menu Bar application will appear two to three minutes after the Kolide agent installation is completed.
Centos (.rpm)
First, obtain the RPM Linux Kolide agent installer for your Kolide account.
If using a window manager like GNOME, simply double-click the
kolide-launcher.rpmfile and follow the on-screen instructions.Alternatively, you can install the package from a terminal with
sudo rpm -i kolide-launcher.rpm.
Note: Unless it is explicitly hidden by your organization, the Kolide Menu Bar application will appear two to three minutes after the Kolide agent installation is completed.