

Configuring Google Cloud Storage
Google Cloud’s GCS is an ideal place to store Kolide’s logs, especially if you want to stream them to another destination that Kolide doesn’t support natively. In this article, we will discuss how to prepare your Google Cloud environment to receive logs from Kolide.
GCP Prerequisites
Before configuring Kolide, you’ll need to create a GCP GCS Storage Bucket and a Google Cloud IAM Service account key. For instructions on how to do the latter, please read Google’s documentation.
How To Configure Kolide
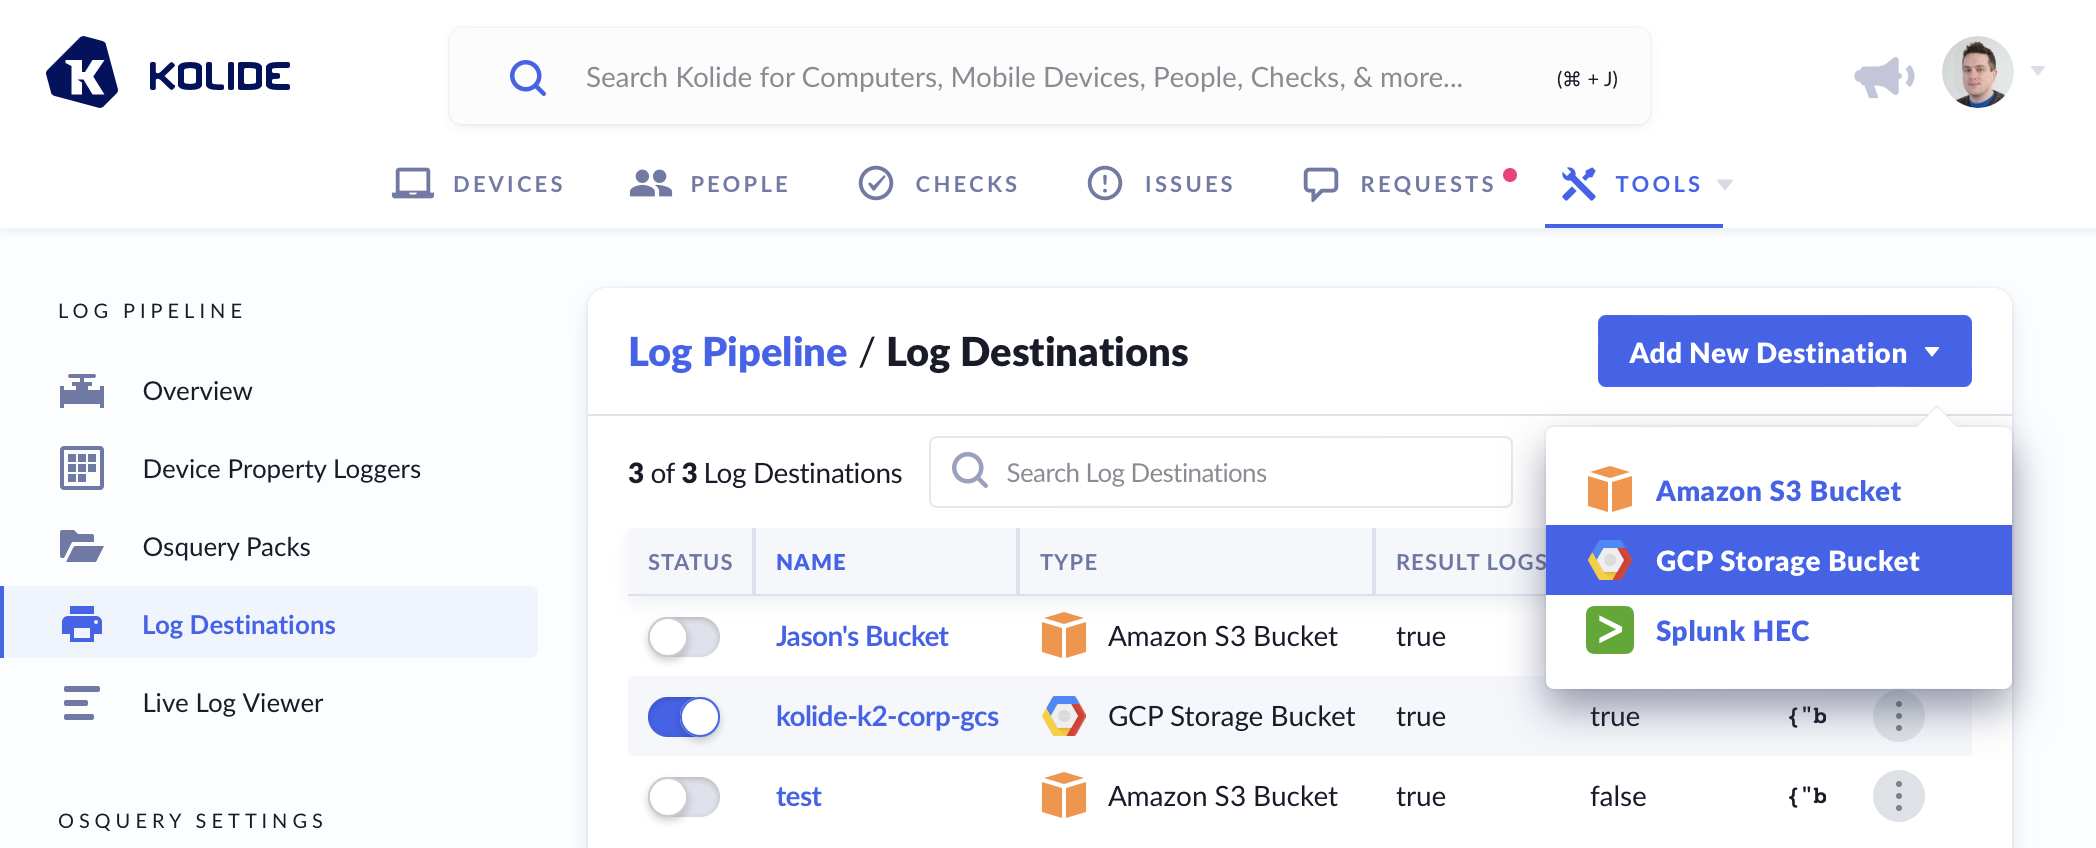
From the Log Destinations list view:
- Click Add New Destination
- Click GCP Storage Bucket
- Choose the desired authentication method
In the modal that appears:
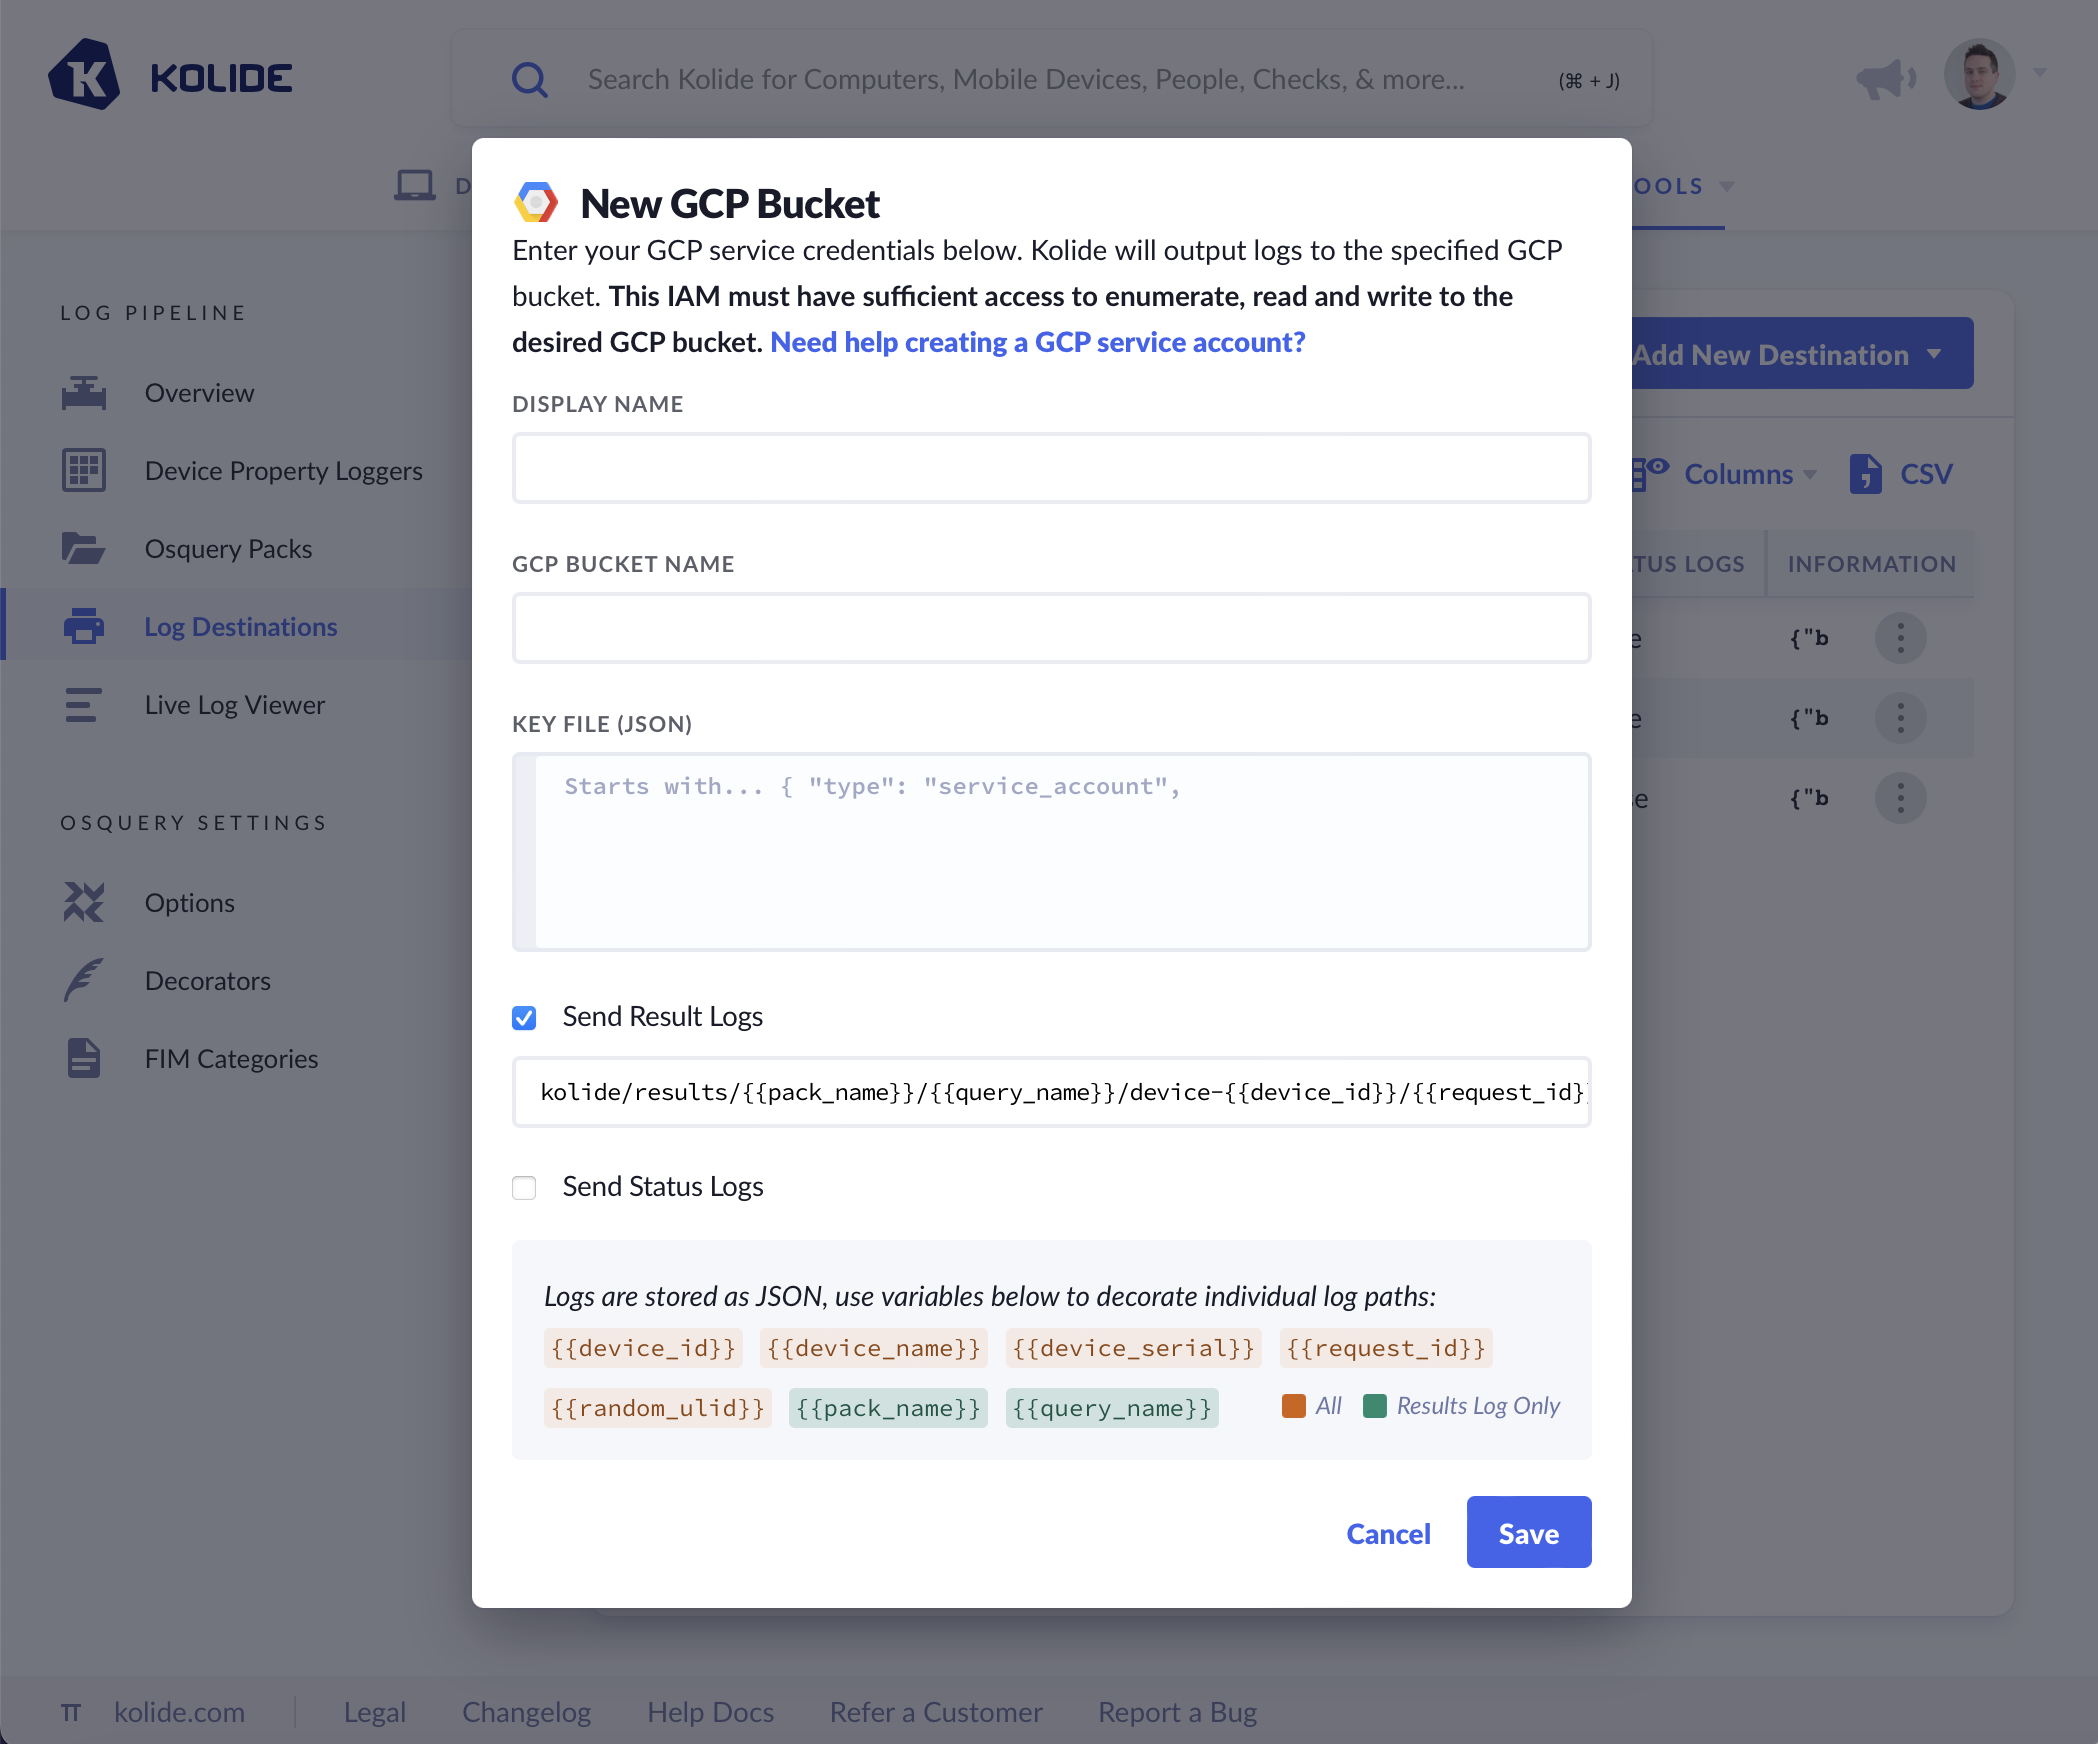
Provide a Display Name for your bucket; this will help you differentiate it from your other configured log destinations.
Provide your GCP Bucket Name and paste the contents of the corresponding GCP IAM JSON key file for your desired bucket.
Choose whether to send either or both Status Logs and Result Logs.
Click Save
Log Naming and Formatting
As noted in the Add New Destination modal, logs are written to a custom path of your choosing. When constructing a path, you can choose from the following variables:
{{device_id}}- The unique identifier for the Device sending the logs.{{device_name}}- The display name of the device (usually its host name) or, if no device name is found, the stringNO DEVICE NAME.{{device_serial}}- The device’s hardware serial number or, if no serial is found, the stringNO DEVICE SERIAL.{{request_id}}- A ULID associated with the HTTPS request made by the Osquery agent. (Note: it is possible for files to share the same ULID across queries){{random_ulid}}- A random ULID that is generated for each log written into the bucket.{{pack_name}}- The name of the query pack (RESULT LOGS ONLY).{{query_name}}- The name of the query inside the query pack (RESULT LOGS ONLY). See the examples below on how to use these variables to construct these log paths.
Examples
Result Logs
kolide/results/{{pack_name}}/{{query_name}}/device-{{device_id}}/{{request_id}}.json
Status Logs
kolide/status/device-{{device_id}}/{{request_id}}.json