About Kolide
Getting Started
Using Kolide
Developers
Home
About Kolide
Getting Started
Using Kolide
Developers
About Kolide
Overview
Device Trust Architecture
End User Guide
Frequently Asked Questions
Support and SLA
The Kolide Agent
About Osquery
Why Kolide Device Trust?
Getting Started
Overview
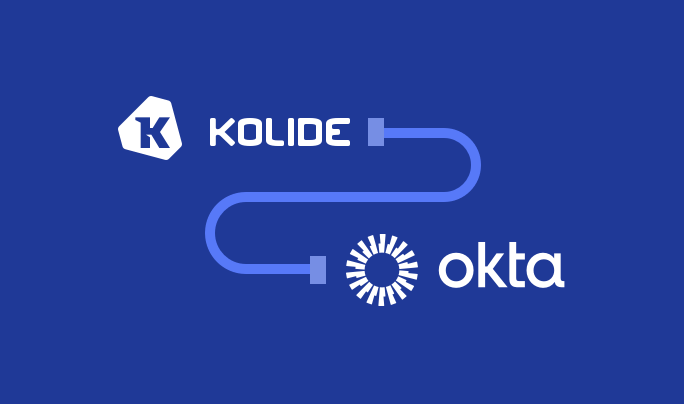
Connect Kolide to Okta
Okta FastPass
Okta Verify
Okta Verify (Passwordless)
Video Walkthrough
WebAuthn
Yubikeys
Deploying the Kolide Agent
macOS Deployment Guide
Using Kolide
Overview
Agent
Installation Instructions
Removal Instructions
Troubleshooting
UI & Menu Bar App
Using Advanced Features
Auth Logs
Checks
Devices
Device Groups
Device Properties
Device Registration
End User Portal
Exemption Requests
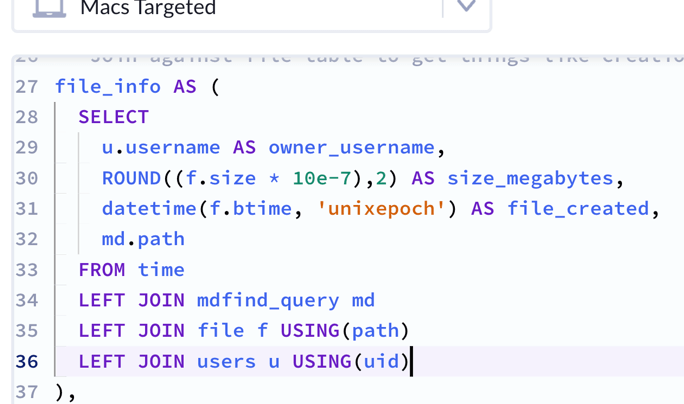
Live Query
Log Pipeline
Configuring Amazon S3
Configuring Google Cloud Storage
Configuring Splunk HEC
Mobile App
People
Reporting Problems
Settings & Admin Tools
Audit Log
Restrictions
Developers
Overview
API
Webhooks
Read the docs:
Learn to how set up, manage, and integrate Kolide.
Featured
About Kolide
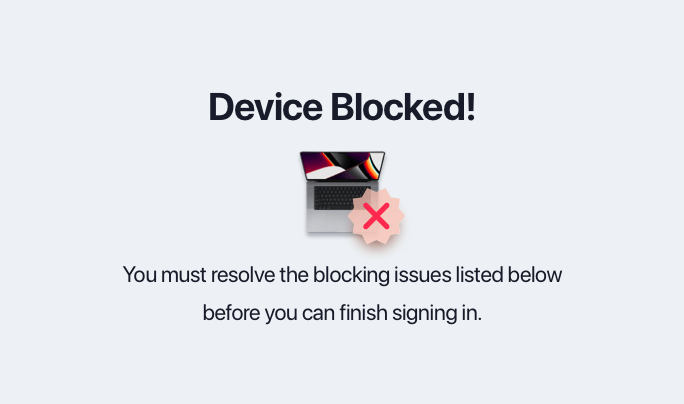
What is Kolide and why does it say my device is blocked?
Getting Started
Connecting Kolide to your Okta SSO
Using Kolide
Writing your first Custom Check
Categories
About Kolide
Device Trust Architecture
End User Guide
Frequently Asked Questions
Support and SLA
The Kolide Agent
Getting Started
Connect Kolide to Okta
Deploying the Kolide Agent
Using Kolide
Agent
Auth Logs
Checks
Devices
End User Portal
Developers
API
Webhooks